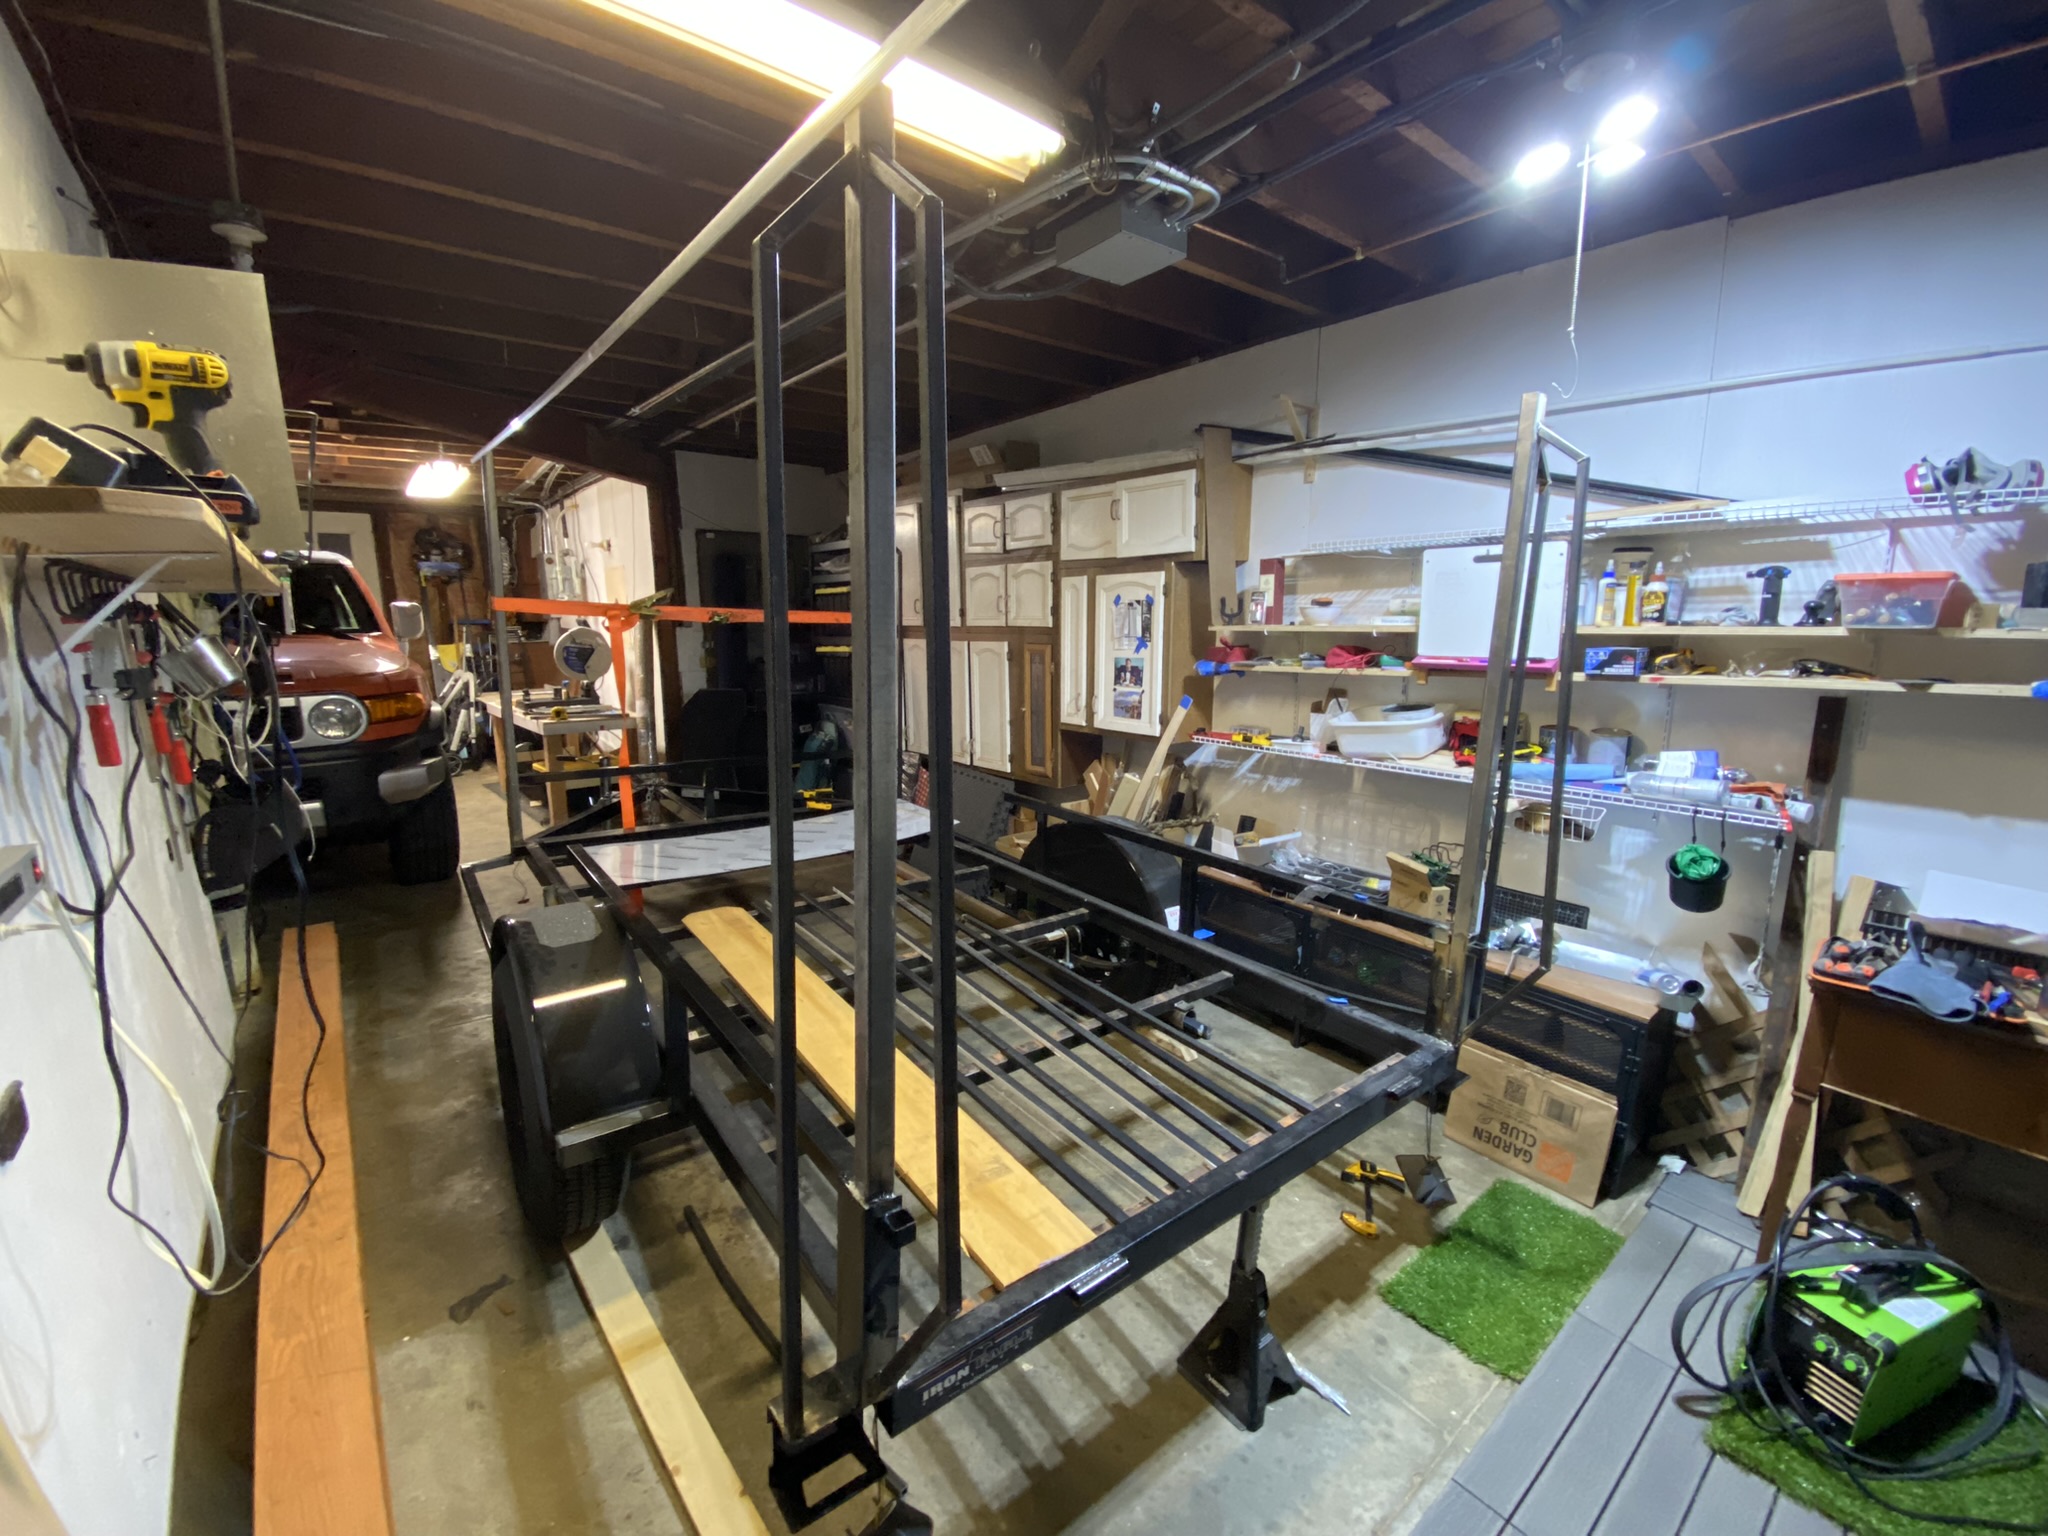
Welding directly on the frame of the trailer is not for the faint of heart. It comes with a lot of concerns about taking the right measurements and visually adjusting on some imperfections (any industrial product has anyway..).
Any element must be precisely replicated in a set of two or four, and to square up the build 2 points of reference must be taken in consideration. Additionally, there’s a lot of tension when welding “in the air” that comes from long elements taking all that welding heat and warping enough to pull on one or two sides. Being a prototype, and hiding most of the frame inside paneling and insulation is forgiving me in this case.
First scrap the coating, prepare the surface, test the piece in place. Also find creative ways of clamping or fixing the piece in position are necessary, and sometimes performed at the limits of safety with ropes and tapes in a puzzle dictated by the dimensions and shape of the garage. In some cases some sacrifical part welded in strategic positions are saving the day.
I’m using mostly chorded tools so having power outlets where it’s needed is key to keep welding and grinding at a good pace. For that reason I’m bringing 20A power chords in the center of the trailer, suspending them above my head and adding multiple adapters so I can avoid switching tools every time.
Intentionally, I’m leaving the floor of the trailer free from panels so I can walk inside the perimeter and comfortably focus on each detail without bending over. I keep the welding machine and a couple of big tools within that area so it’s always reachable from the outside of the trailer.
While building the frame new design ideas emerged.
Bottom trunk can be reached from the inside and outside of the trailer. This can be the heaviest part of the trailer so weight must be balanced and possibly closer to the ground. A chamfer is added to the front part of the box to deflect some wind and avoid collecting stuff from the road. Departure angle should work out fine.
To enhance the feeling of spaciousness some of the frame members are cold bent and welded in place by using the main pillars as the contour, or mold if you will. Curvatures are minimal so it’s fairly easy and precise to perform.
The 2×2 structural members are left protruding on the top so a 10mm receiver nut can be welded in place to allow for a roof rack or utility bar of some kind.
The roof is curved and sloped to the back so it doesn’t collect rain and it gives the entire trailer a less boxy shape.
As for the back the big rv door I acquired from BBB

Leave a Reply